on a kick in the kitchen
/I'm the kind of person who gets on "kicks" in the kitchen. Last winter I was on a "chicken and dumpling" kick, there was the shortbread kick during Summer of '09, tomato-basil-mozarella-balsamic this summer, again.
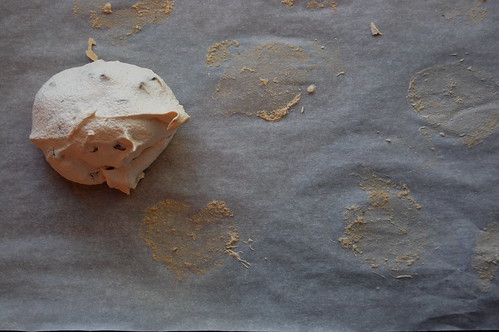
Once I get to the point of being able to make something without any recipe, and I'm making it more than once-a-week, I officially declare it a "kick". This fall it is chocolate chip meringues.
Really, I blame my sister. She introduced them to me over a year ago. And upon first taste they got stored away on that list of "must figure out how to make" in my brain.
Of course, when I was ready to make them I couldn't get her on the phone, so I had to go to the internet for research. And I found this recipe at smitten kitchen. It was my starting off point, and now that I'm feeling like a seasoned meringue-maker, I've been bold enough to eek back the sugar and go with the flow.
Seriously, do yourself a favor and whip up a batch of these. Don't be intimidated by egg white stiffness or foaminess, or perfect meringue done-ness.
Even better, they're low-fat. Right? Right!
Molly's Mini-chip Meringues (with a nod and tip of the hat to my sister, and 'smitten) :
2 egg whites, room temperature (or straight from under the hen's rumpus in our case)
1/2 cup sugar
1/4 teaspoon salt
1/8 teaspoon cream of tartar
1 teaspoon vanilla
6 ounces mini chocolate chips
Preheat oven to 300 degrees. Put two egg whites in the bowl of a stand mixer and whip until foamy. Add salt, cream of tartar and vanilla and continue to whip until soft peaks form. Gradually add the sugar and whip until it holds stiff peaks. Fold in mini-chips.
On a parchment-lined baking sheet, drop spoonfuls of the sticky white clouds onto your baking sheet. Bake at 300 for approximately 30-35 minutes. (there are also long-methods for making meringues, which I've never tried. but this is what I've been doing.) Personally, I check the meringues as I near the end of the baking time. Once they begin to get firm on the outside, I remove them from the oven. They will continue to crisp up a bit more as they cool.
When you are done, you'll little pockets of goodness, crispy on the outside, a bit chewy on the inside. Whatever doesn't get eaten in the first feeding should be stored in an air-tight container.
Enjoy!
::: ::: ::: ::: ::: ::: ::: ::: ::: ::: ::: :::
Did you know, I'm back over on the MOMformation blogs again? They've done a complete make-over and there is some pretty good stuff happening. They've added lots of great bloggers to the already standard favorites, like Jon and Sherry from Young House Love, Kristen Chase from CoolMomPicks, Alison Czarnecki from Petit Elefant --just to name a few...
I'm part of the Products & Prizes channel, and I'm writing a weekly article about great finds for your kitchen. (how fun, huh??!) And I'll soon be adding some regular posts on children's music, as well as product reviews and giveaways (some GREAT giveaways).
To find me you can click on the button in my sidebar, or go to my bio page and SUBSCRIBE to my posts. You can find all my latest here. (Lately, I've been talking about making baby food...not to be confused with making babies.)
Hope you'll click over and check it out.


